GTO
Pontiac GTO Door Lock Actuator Replacement
These are instructions to help change out a door lock actuator on 2004 to 2006 Pontiac GTOs. All pictures are scaled down, click the image to view full size.
The symptoms of a failed actuator include:
- Failure for the door to lock without manually raising or lowering the door lock
- Pressing the lock button on the key fob does not lock the door and sounds the horn
- One side locks and the other does not
- 2005 & 2006 GTOs also have a lock switch on the center console. If a lock doesn’t respond it may be bad
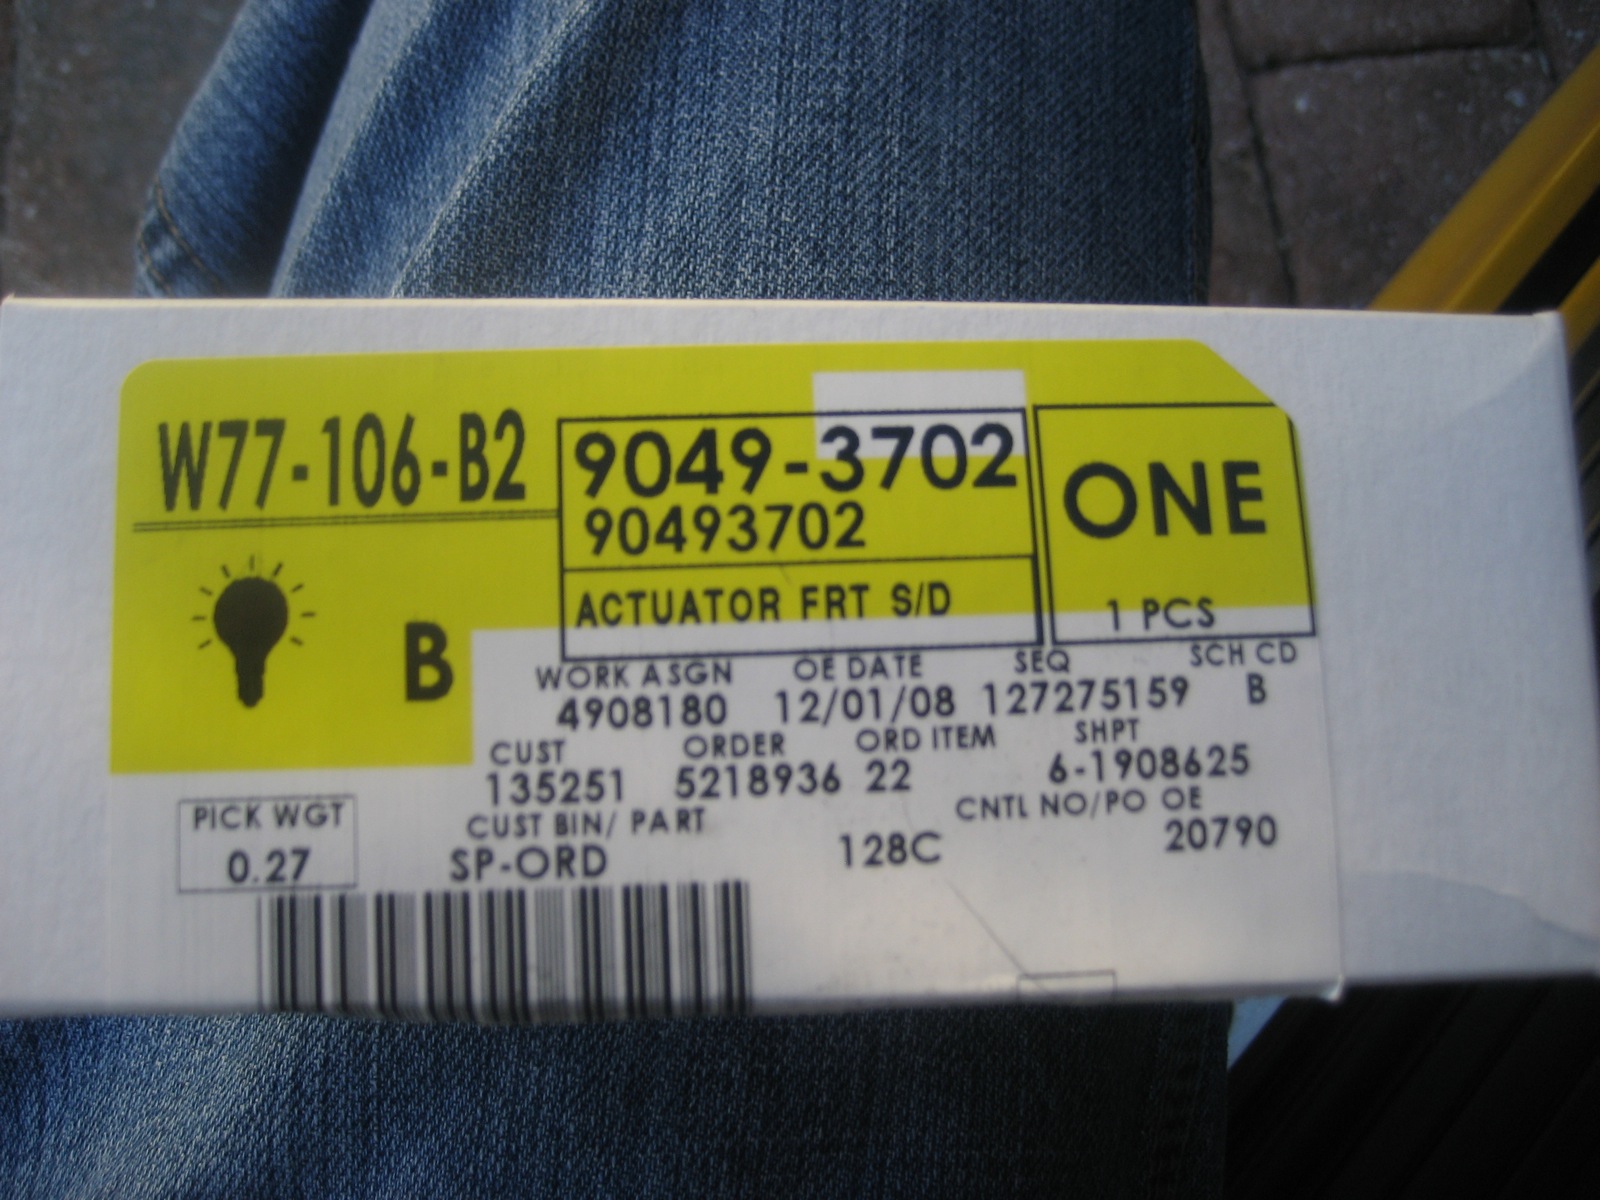
The part number is the same for either doors and has been updated since the original part was manufactured. The OEM part number on my removed actuator was 92146468. If you look this number up at a dealer it will redirect you to part number 90493702. It is sold for about $100 to $130 thru online part stores.
There are times that you’ll consider raising or lowering the window to give you more room to work. I thought it was easier to lower the window while removing the door panel and raising it while swapping the actuator out. You’ll want it lowered again while you replace the door panel. You’ll need to have the door open all the way most of the time and at one point the door latch is removed, so be sure you’ll have time to finish or you won’t be able to secure the car.
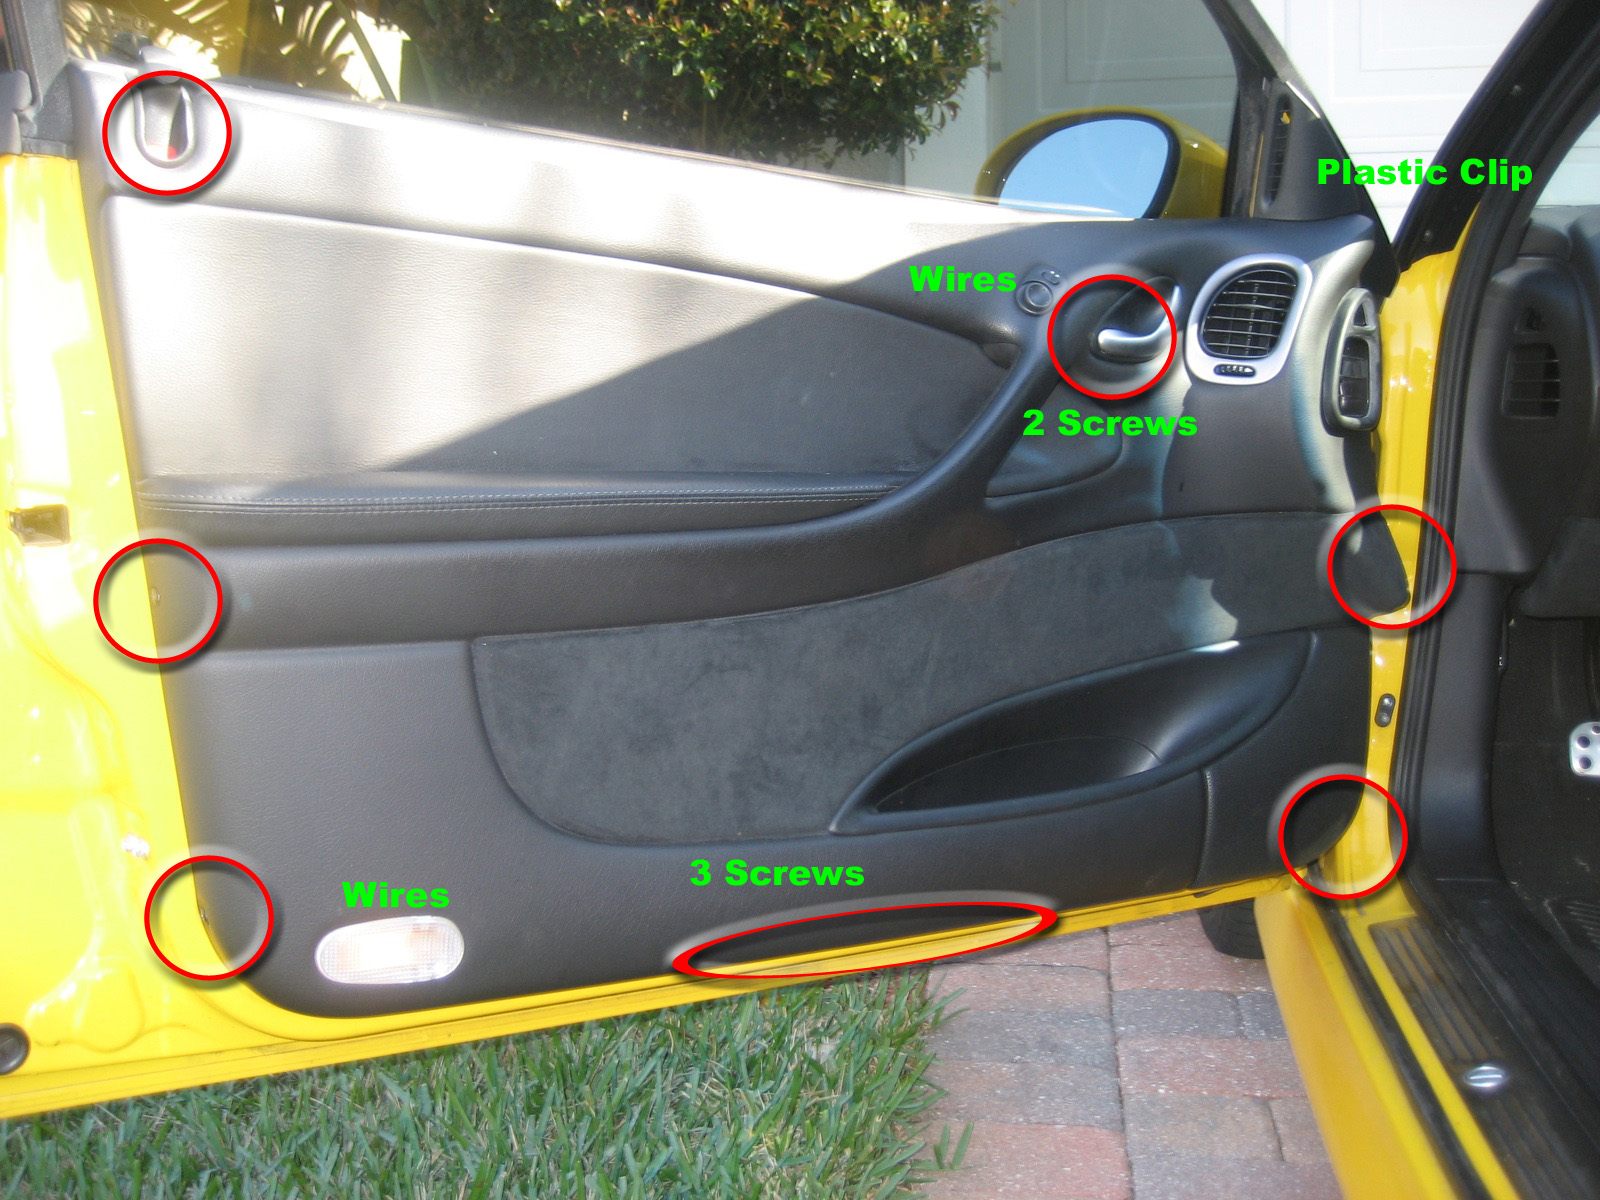
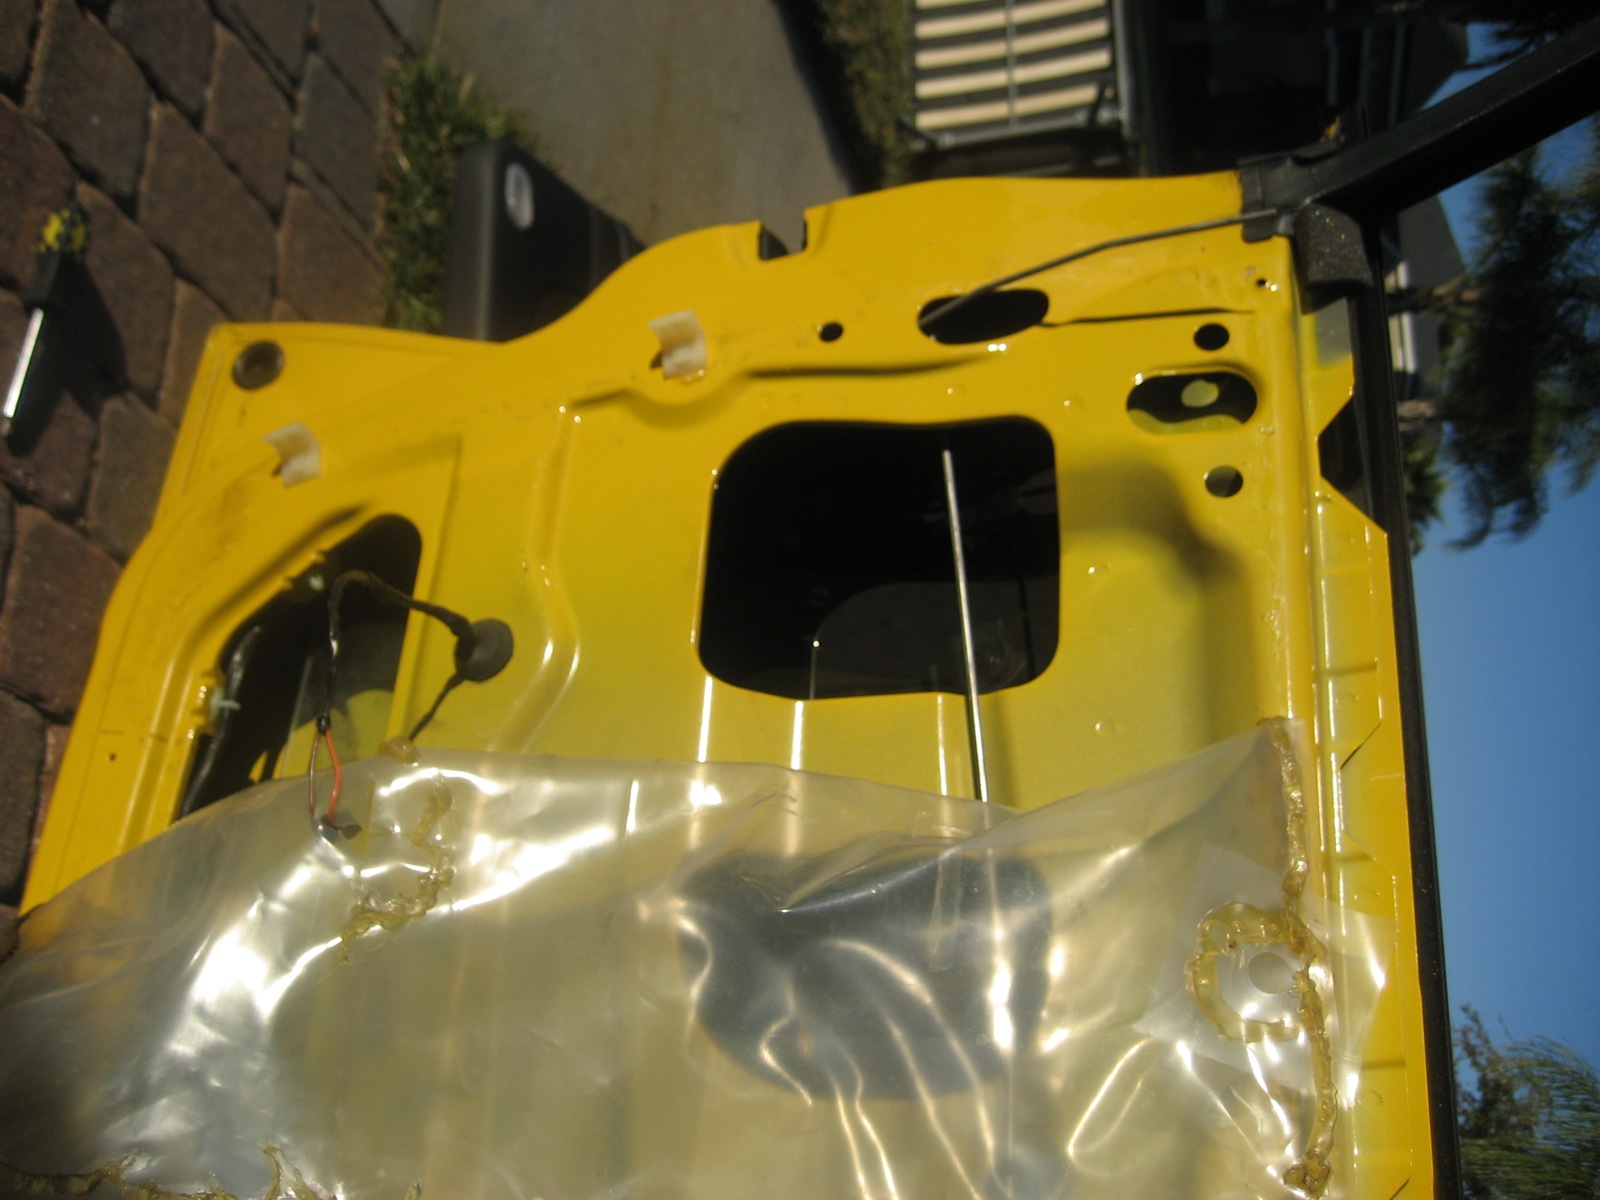
The first step is the remove the door panel. It is held on by several screws, some hidden. There are different types of screws so be sure to keep them straight. Ten screws hold the door panel on and they are located about the perimeter and behind the door handle. There are also wires that are clipped the the door light and the mirror adjusting switch that need to be unclipped.
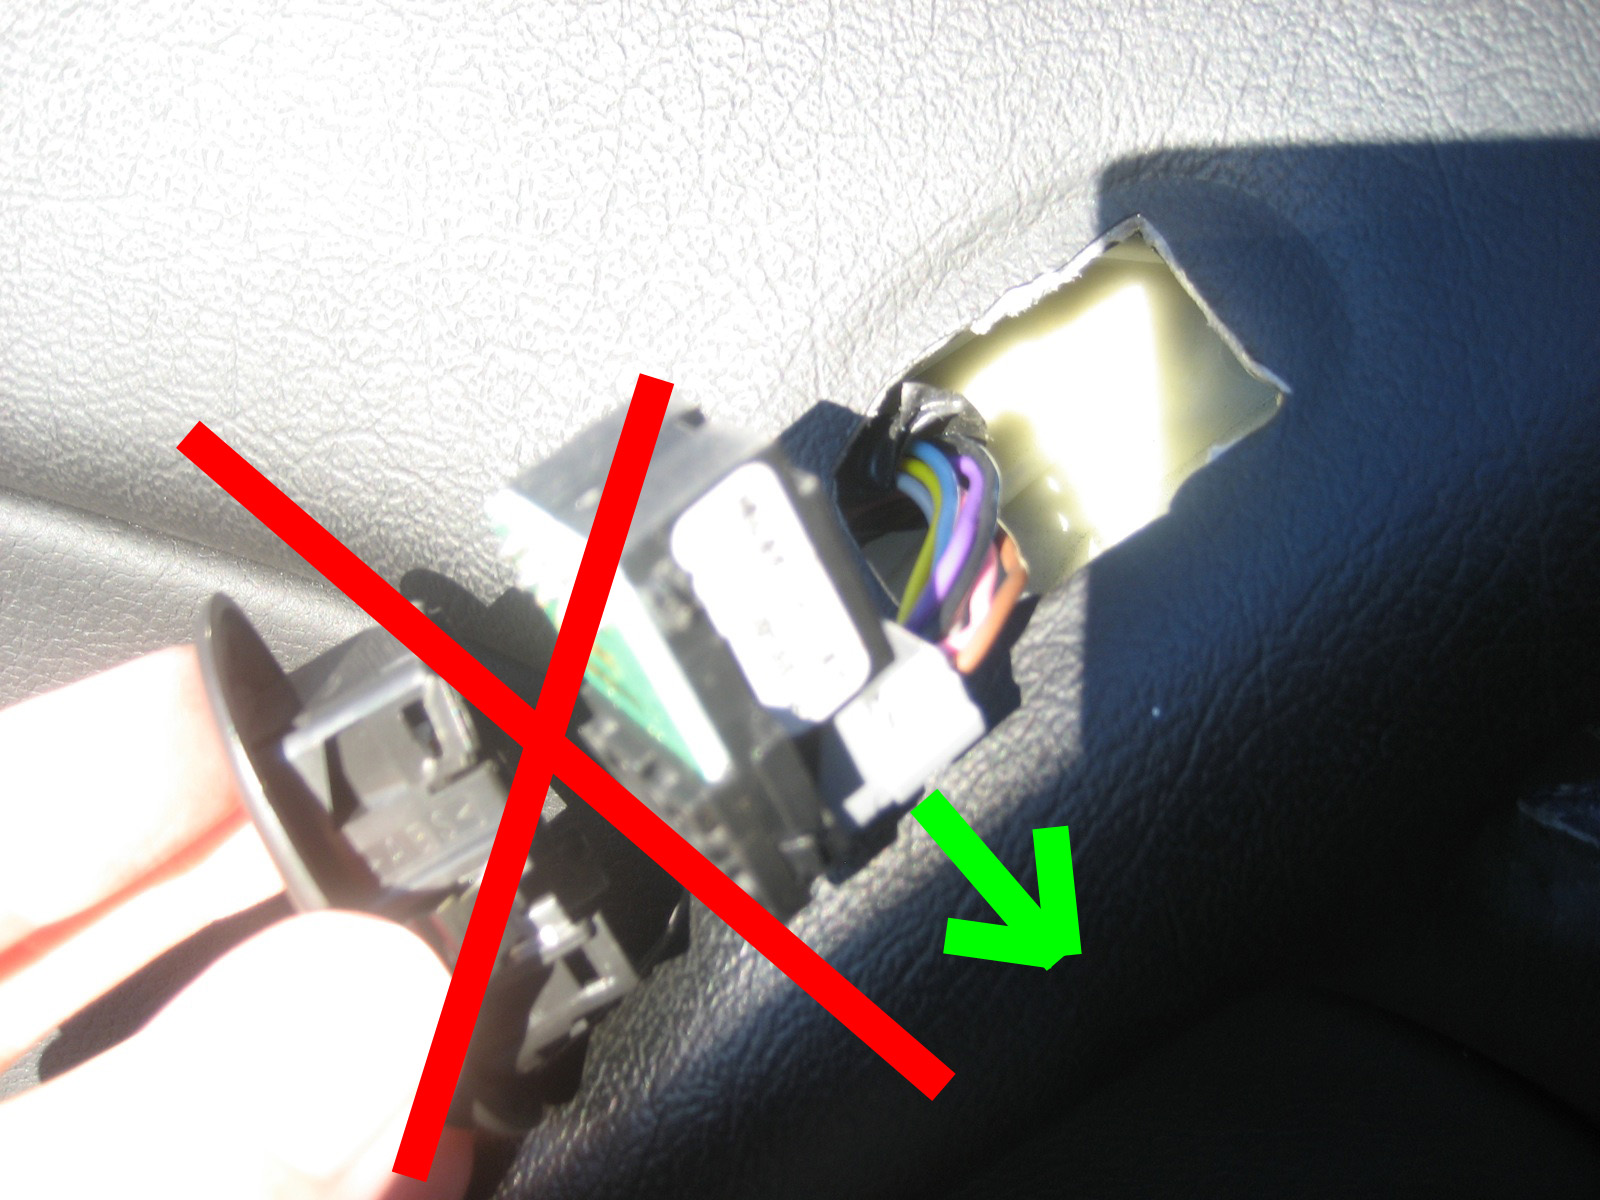
To remove the mirror adjusting switch, simply pull it up out of the door panel and disconnect the wire connection. It should slide to the side. Mine was difficult to separate from the clip, but it comes off at the white connector. DO NOT disconnect it by popping the top panel off!! I did this at first and it does not go back together well. Feed the wires back through the door panel so they won’t be in the way as the panel is removed.
Next, remove the front triangular panel by rotating it from front to back. There are no screws to it, just a plastic tab but it has to be removed because the door panel will lift up to come off the door frame.
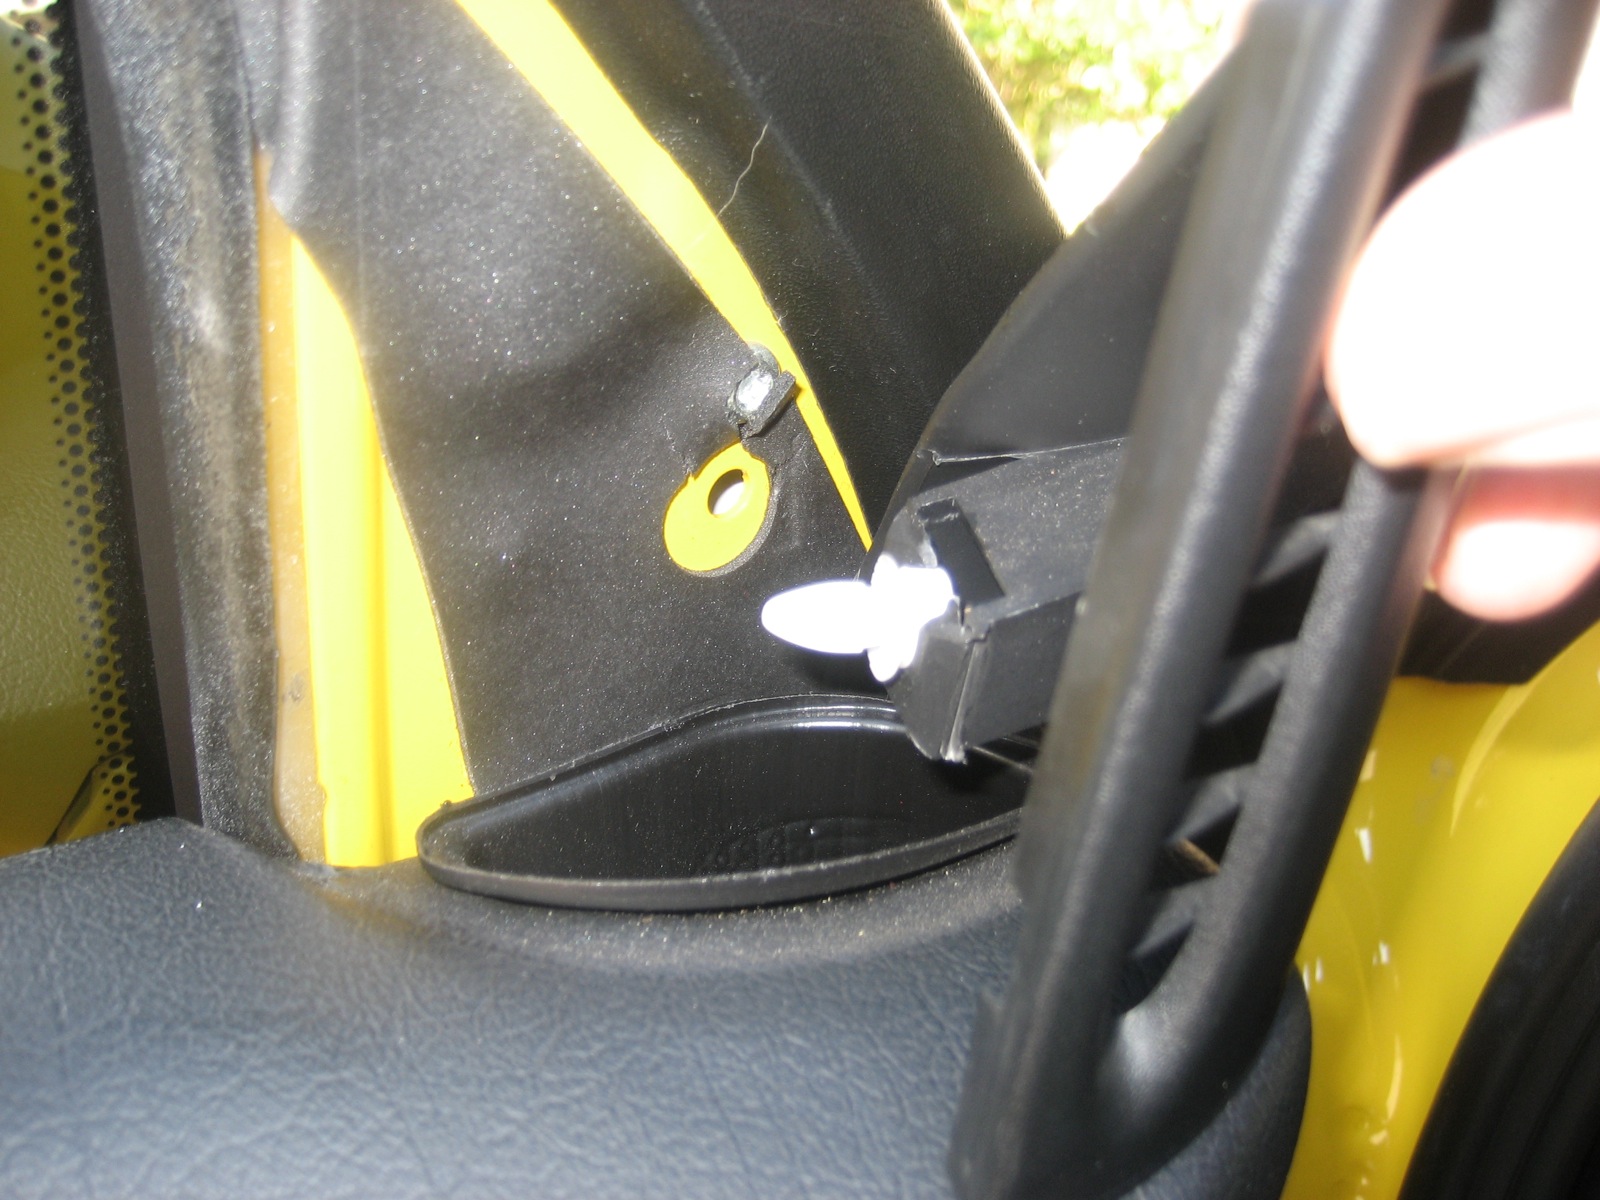
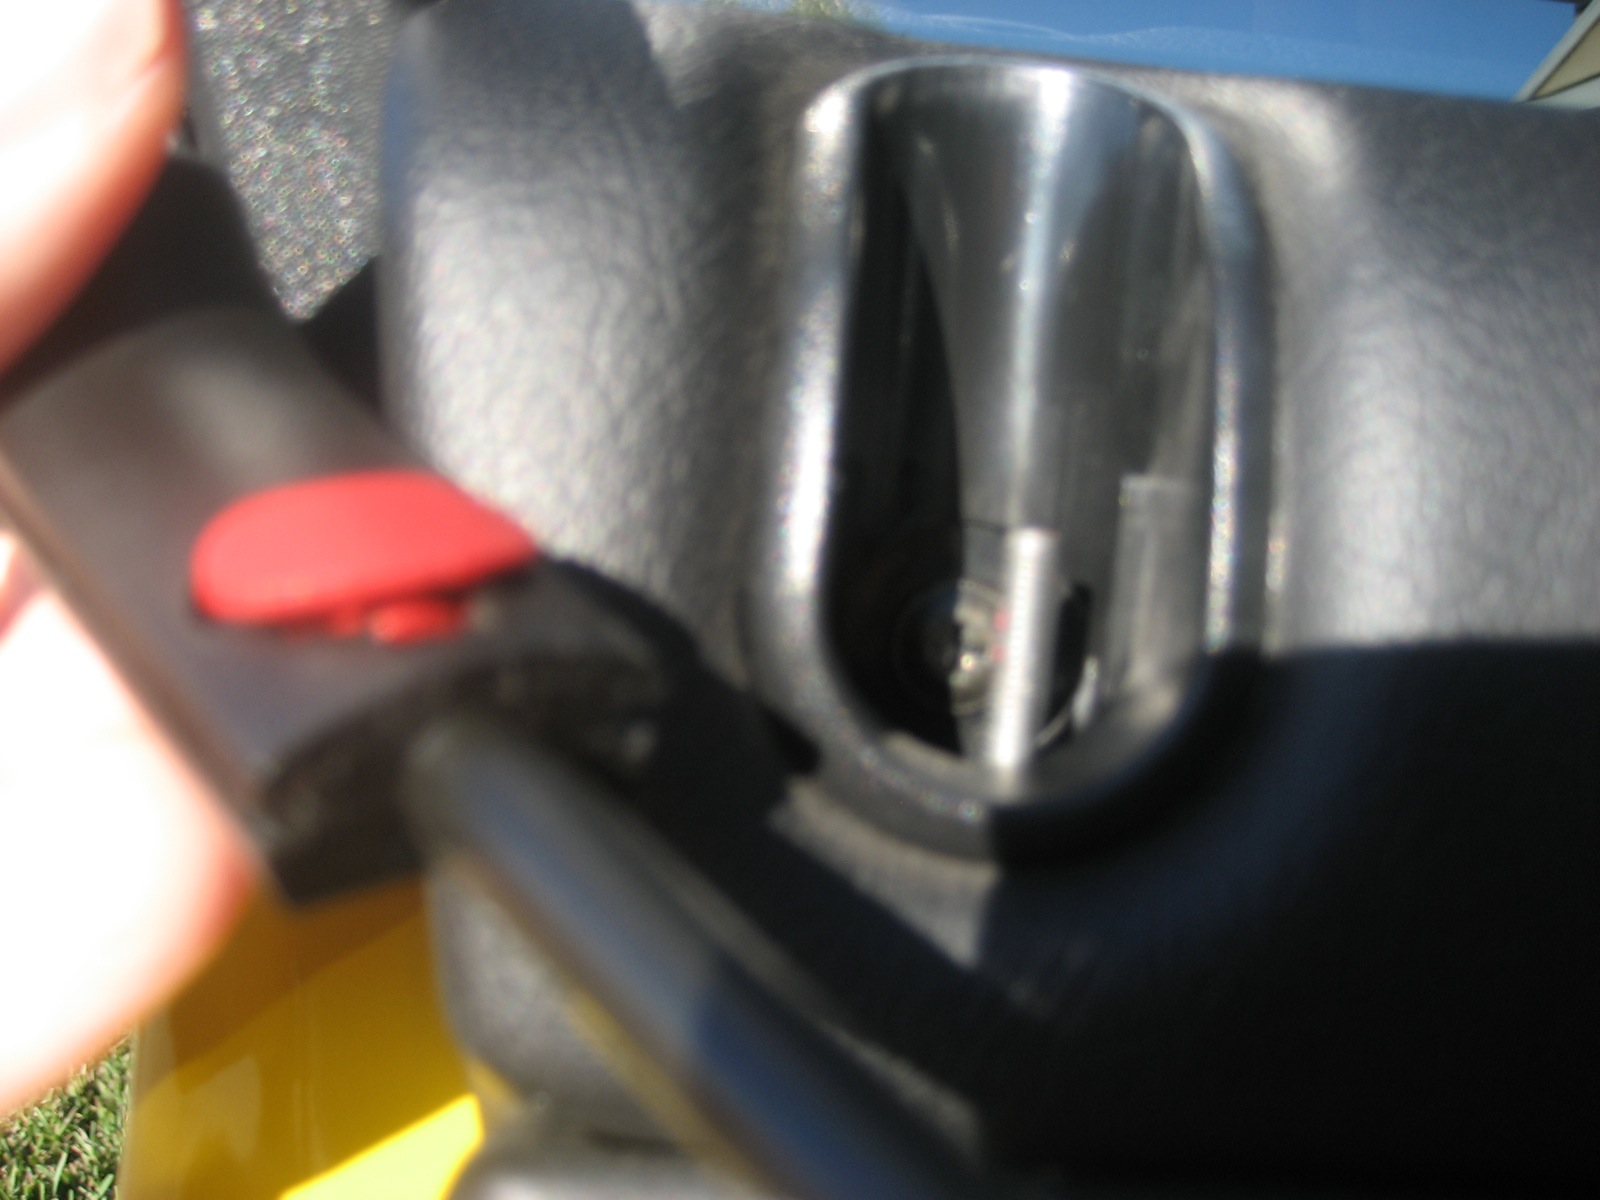
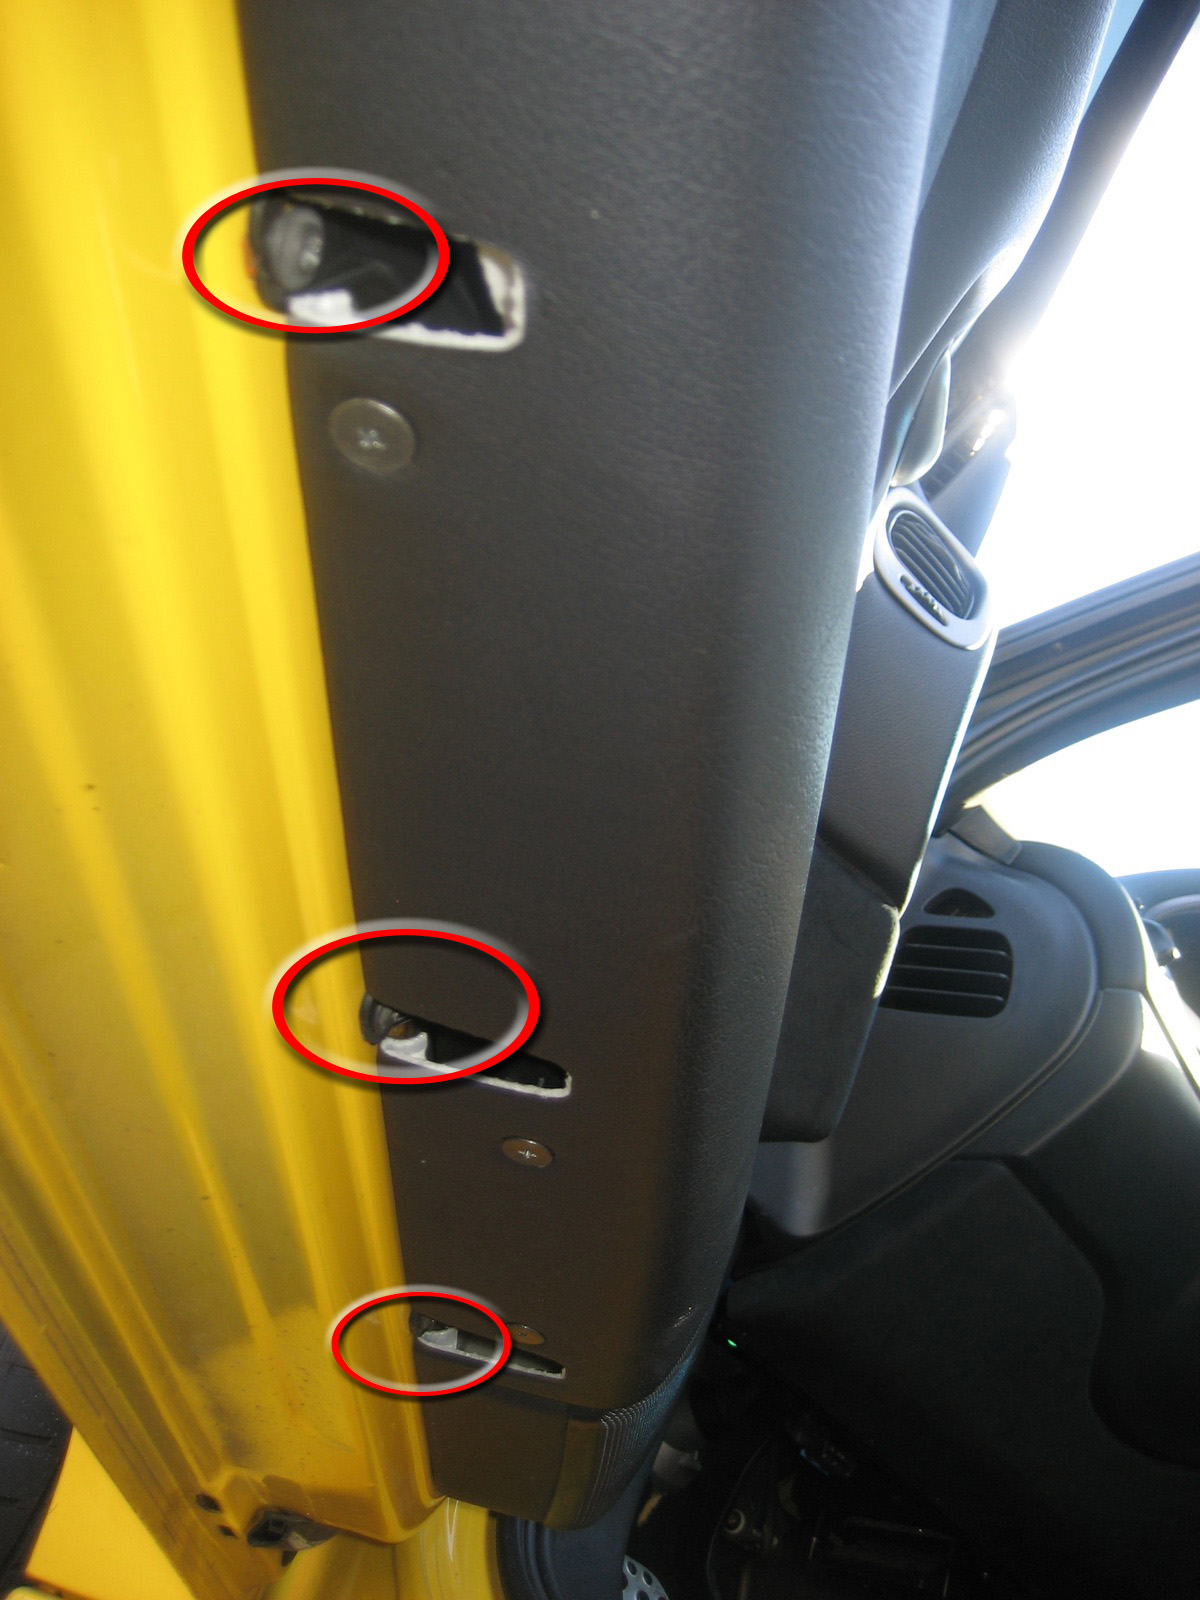
The door should be unlocked and the door lock in the up position. The first screw is hidden behind the door lock and is accessed by using a small flathead screwdriver to pry out the red oval tab. It doesn’t come all the way off, just ¼ of an inch or so will do. The lock will slide up and off the metal rod. Behind the metal rod you’ll see a screw that is removed.
The next two screws are located behind the handle. Use the small flathead screwdriver again to pry the small round cover off. You’ll see the second screw there. Removing this screw allows you to remove the handle. It is hooked on the left side to the door latch so you have to rotate it in at the front and out at the rear to come off the rod. You can see the U-shaped pocket in the left center of the second picture below.
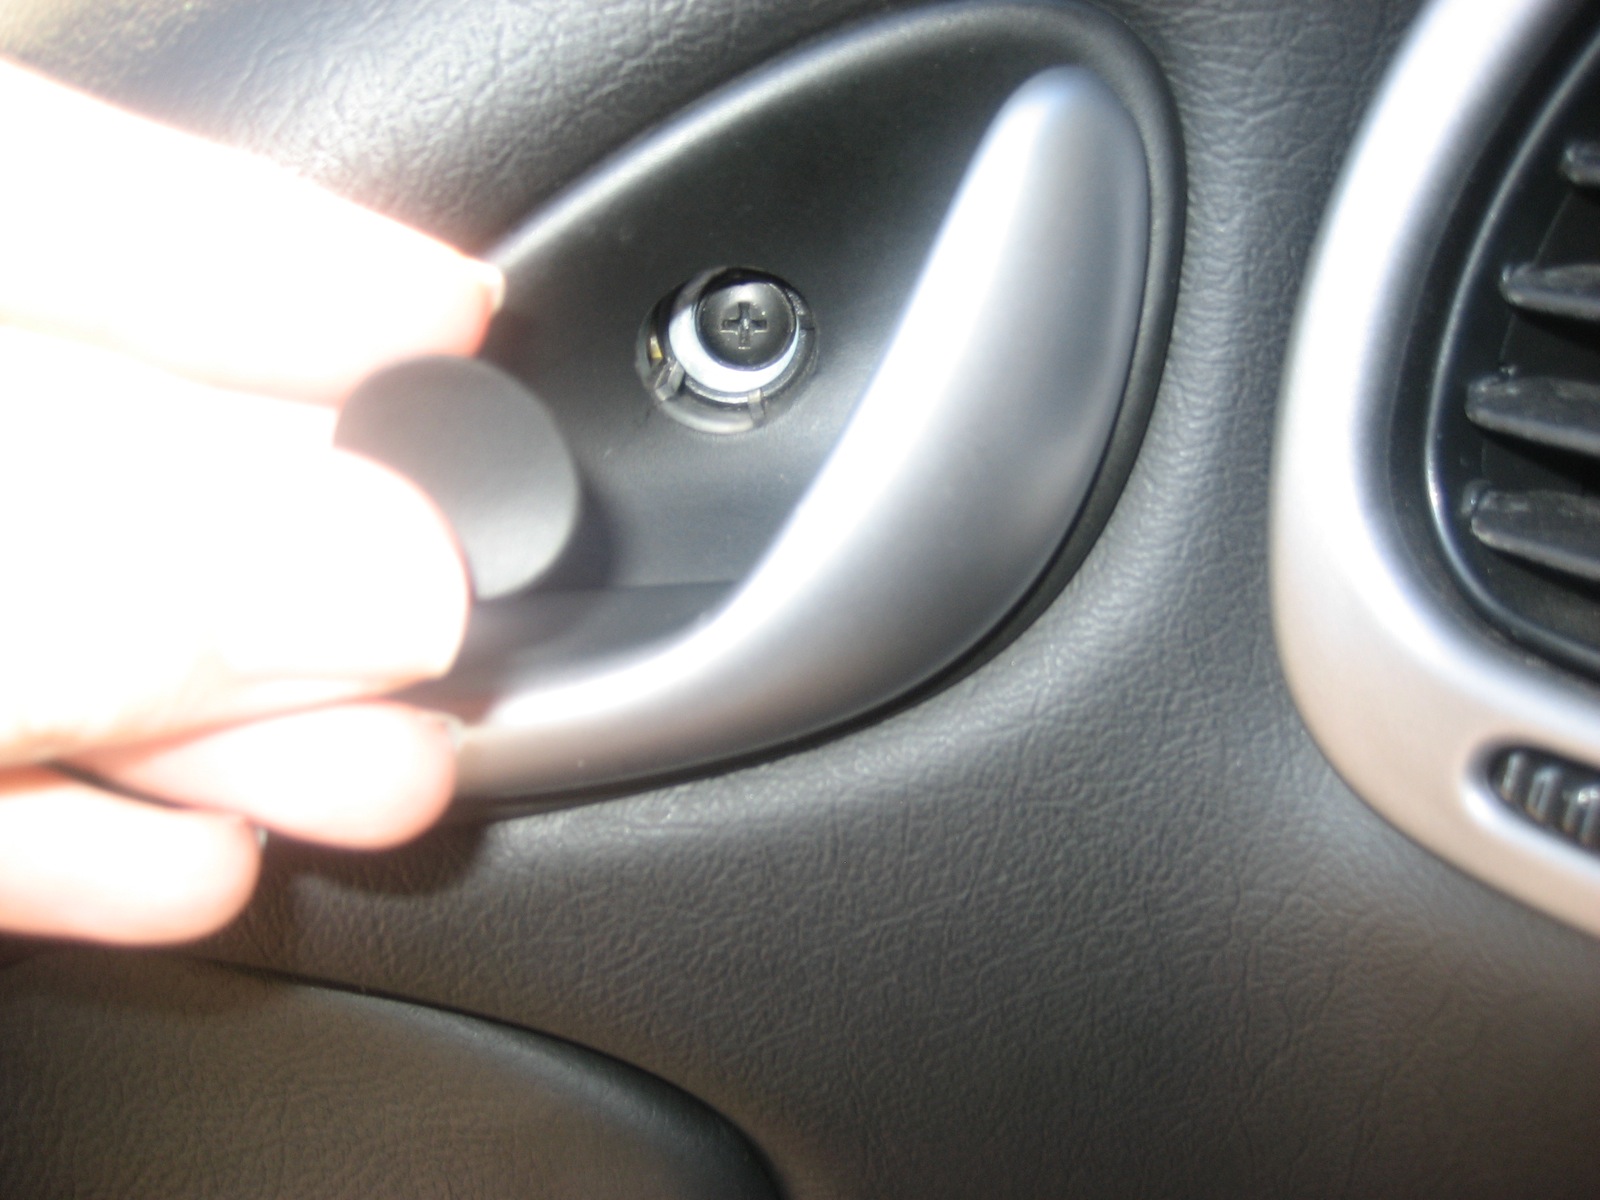
Once the handle is free of the latch rod, it can be completely removed. The third screw is behind the handle, in the middle of a white plastic bracket. It is seen in the upper left of the opening left by the handle.
On the rear of the door there are two screws that are easy to remove.
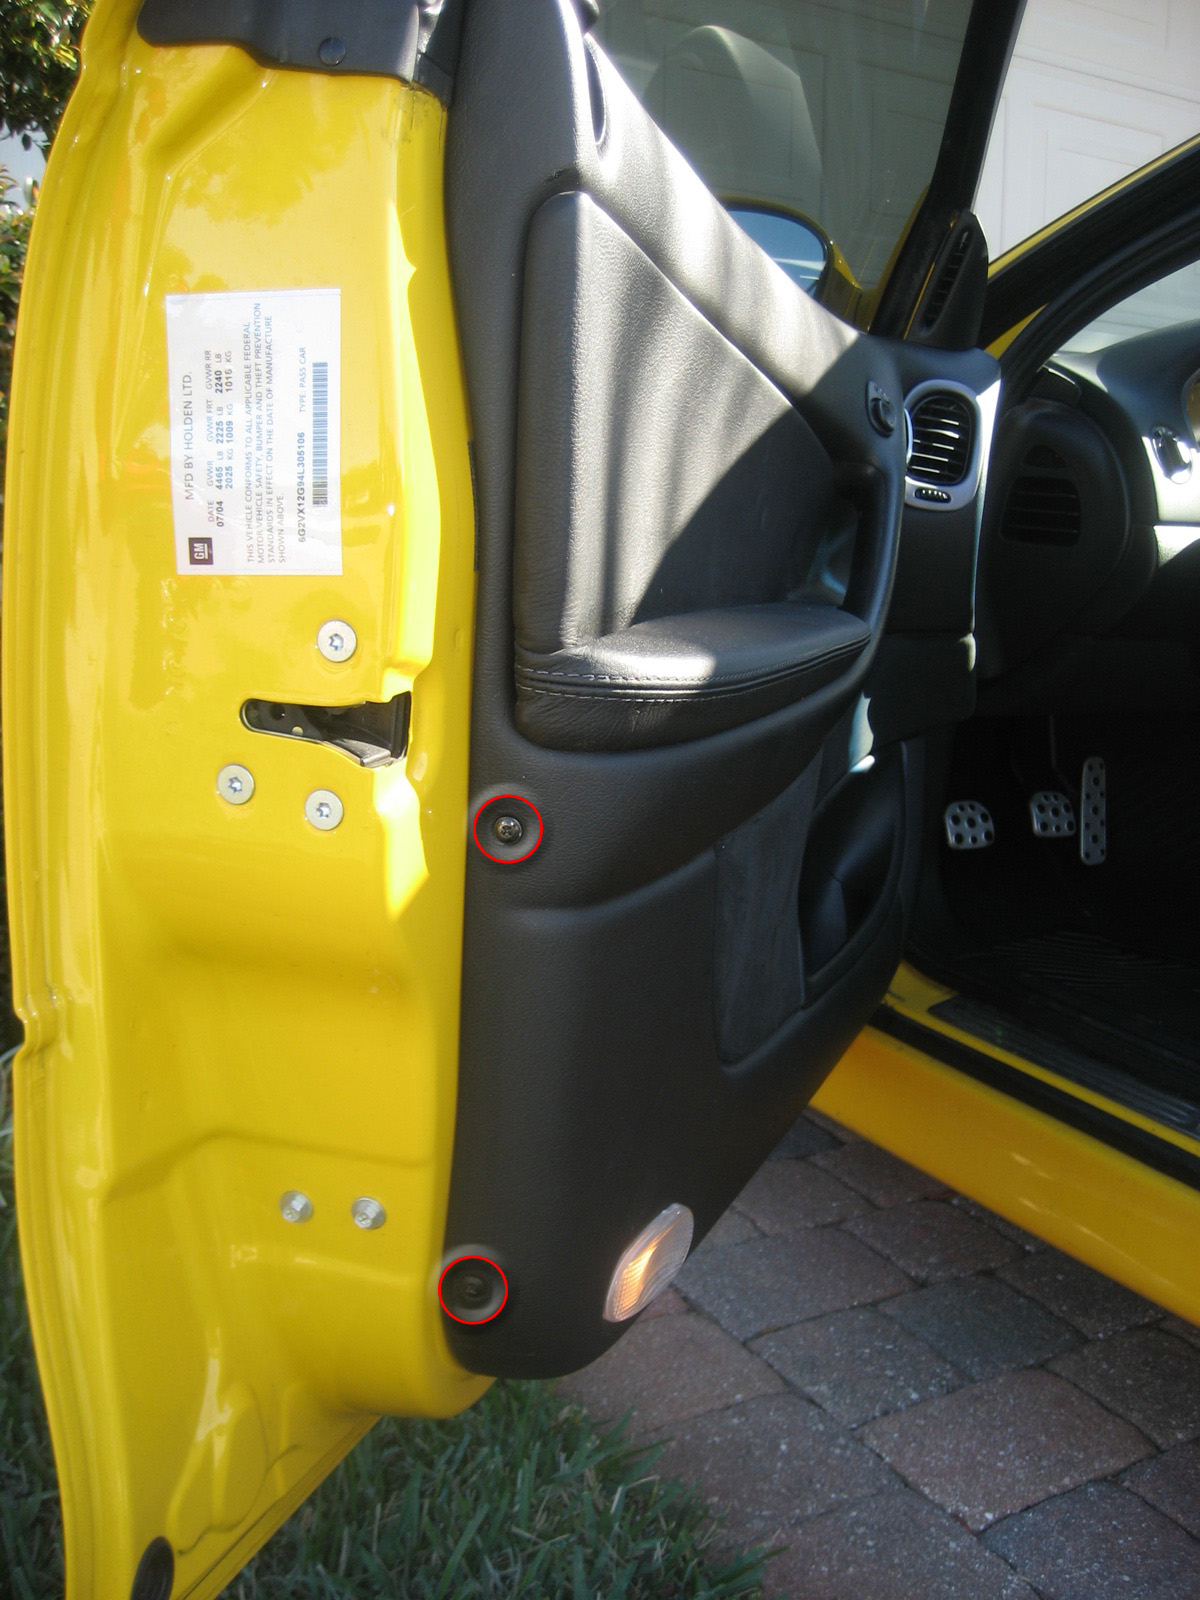
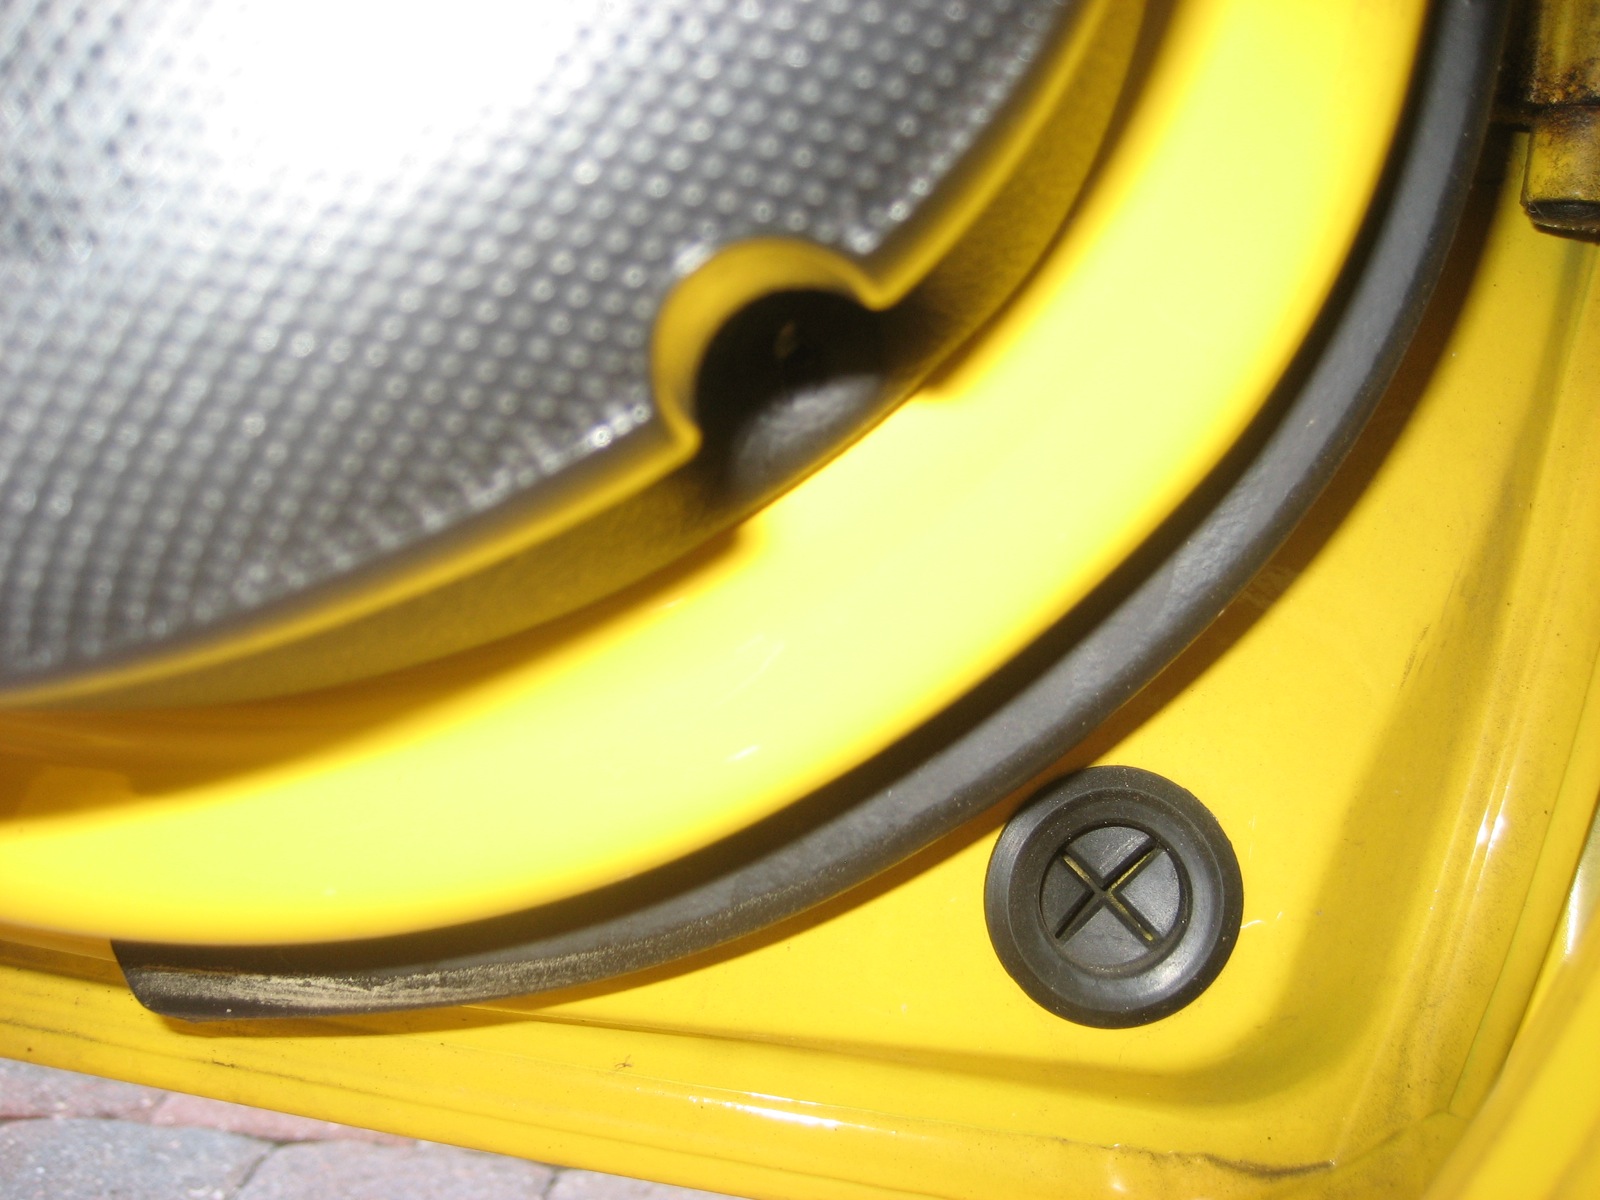
Along the bottom there are six screws. Only the three larger screws located within the recesses need to be removed.
There are an additional two screws on the front of the panel. The bottom screw is located in the corner of the speaker cover.
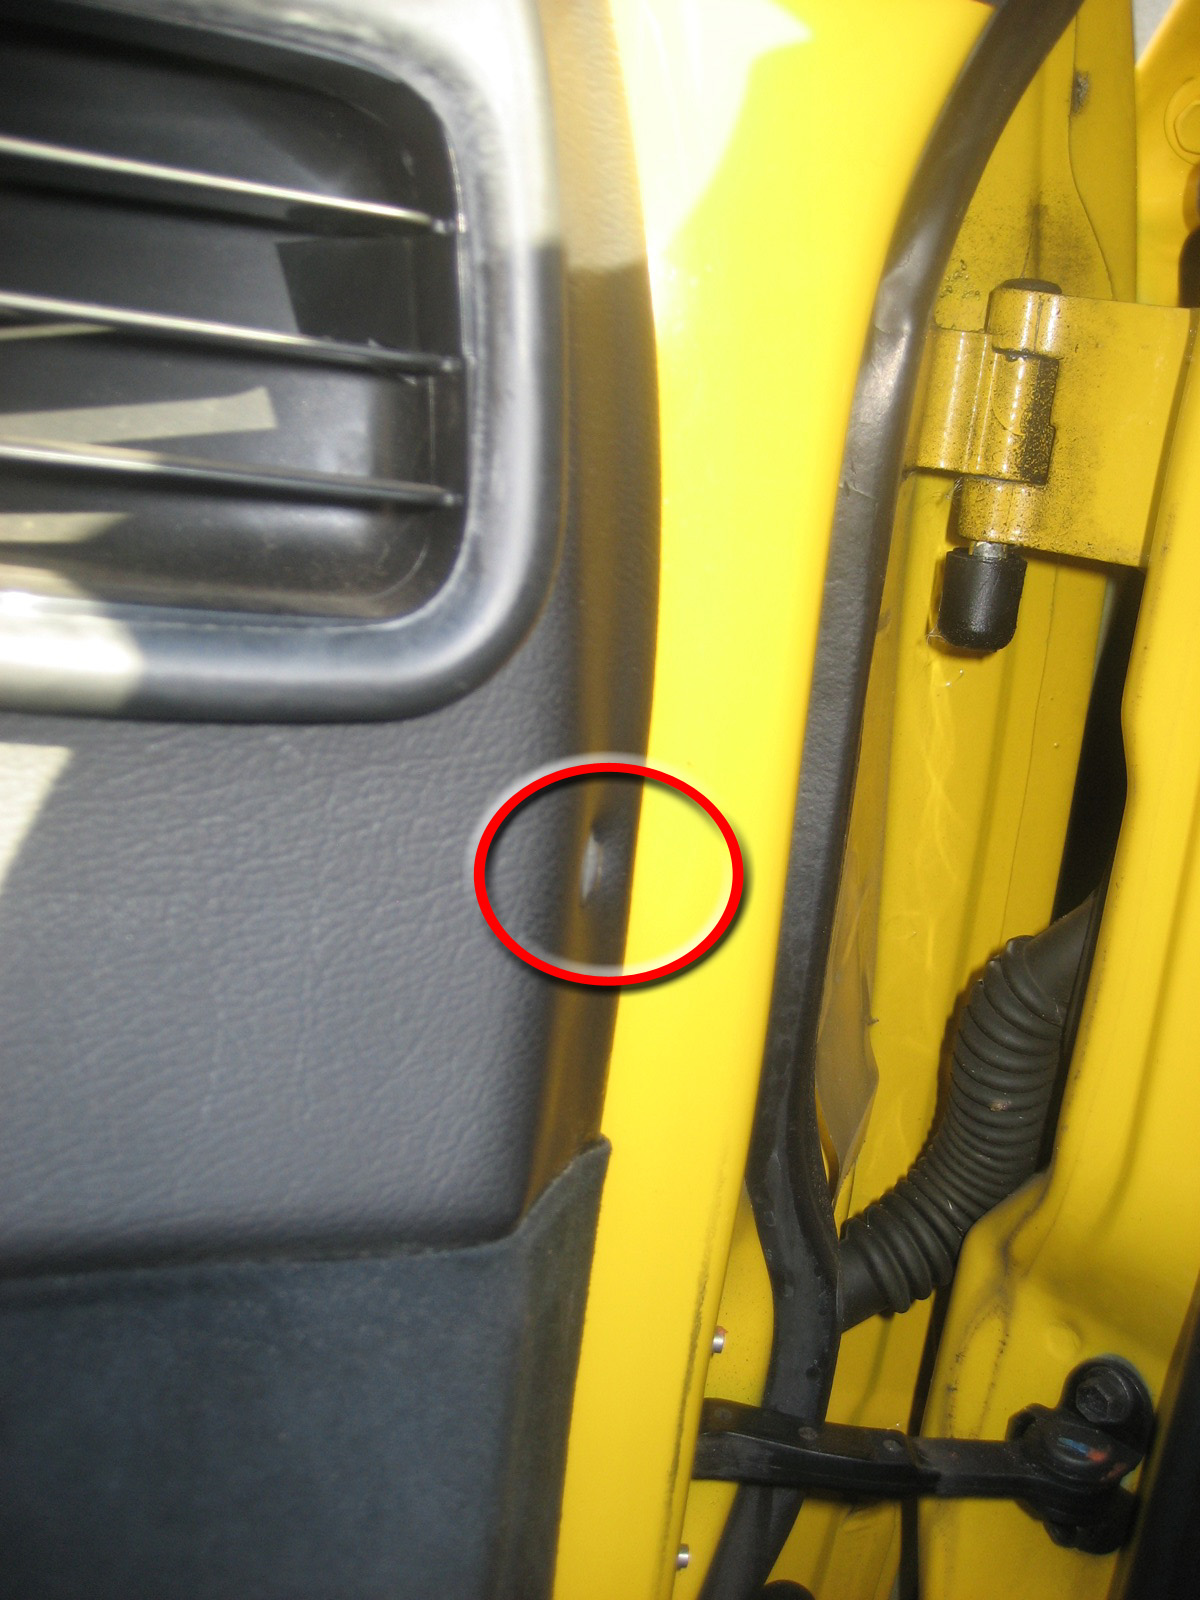
The top screw is near the middle of the door. You’ll need a stubby or angle screwdriver to get it out.
Once all of the screws are removed the door panel is only held on by the top, which hooks over the top of the door. It is helpful here to have the window all the way down so you can work the top loose. Once you get a little room, support the door panel while reaching down and unclipping the light wires. If the light has been on, it will be very hot!
Once the door panel is off, peel back the plastic film from the rear to the front. You’ll need to expose about half the door and also feed the light wires through. It’s convenient now to raise the window so you have a little more working room.
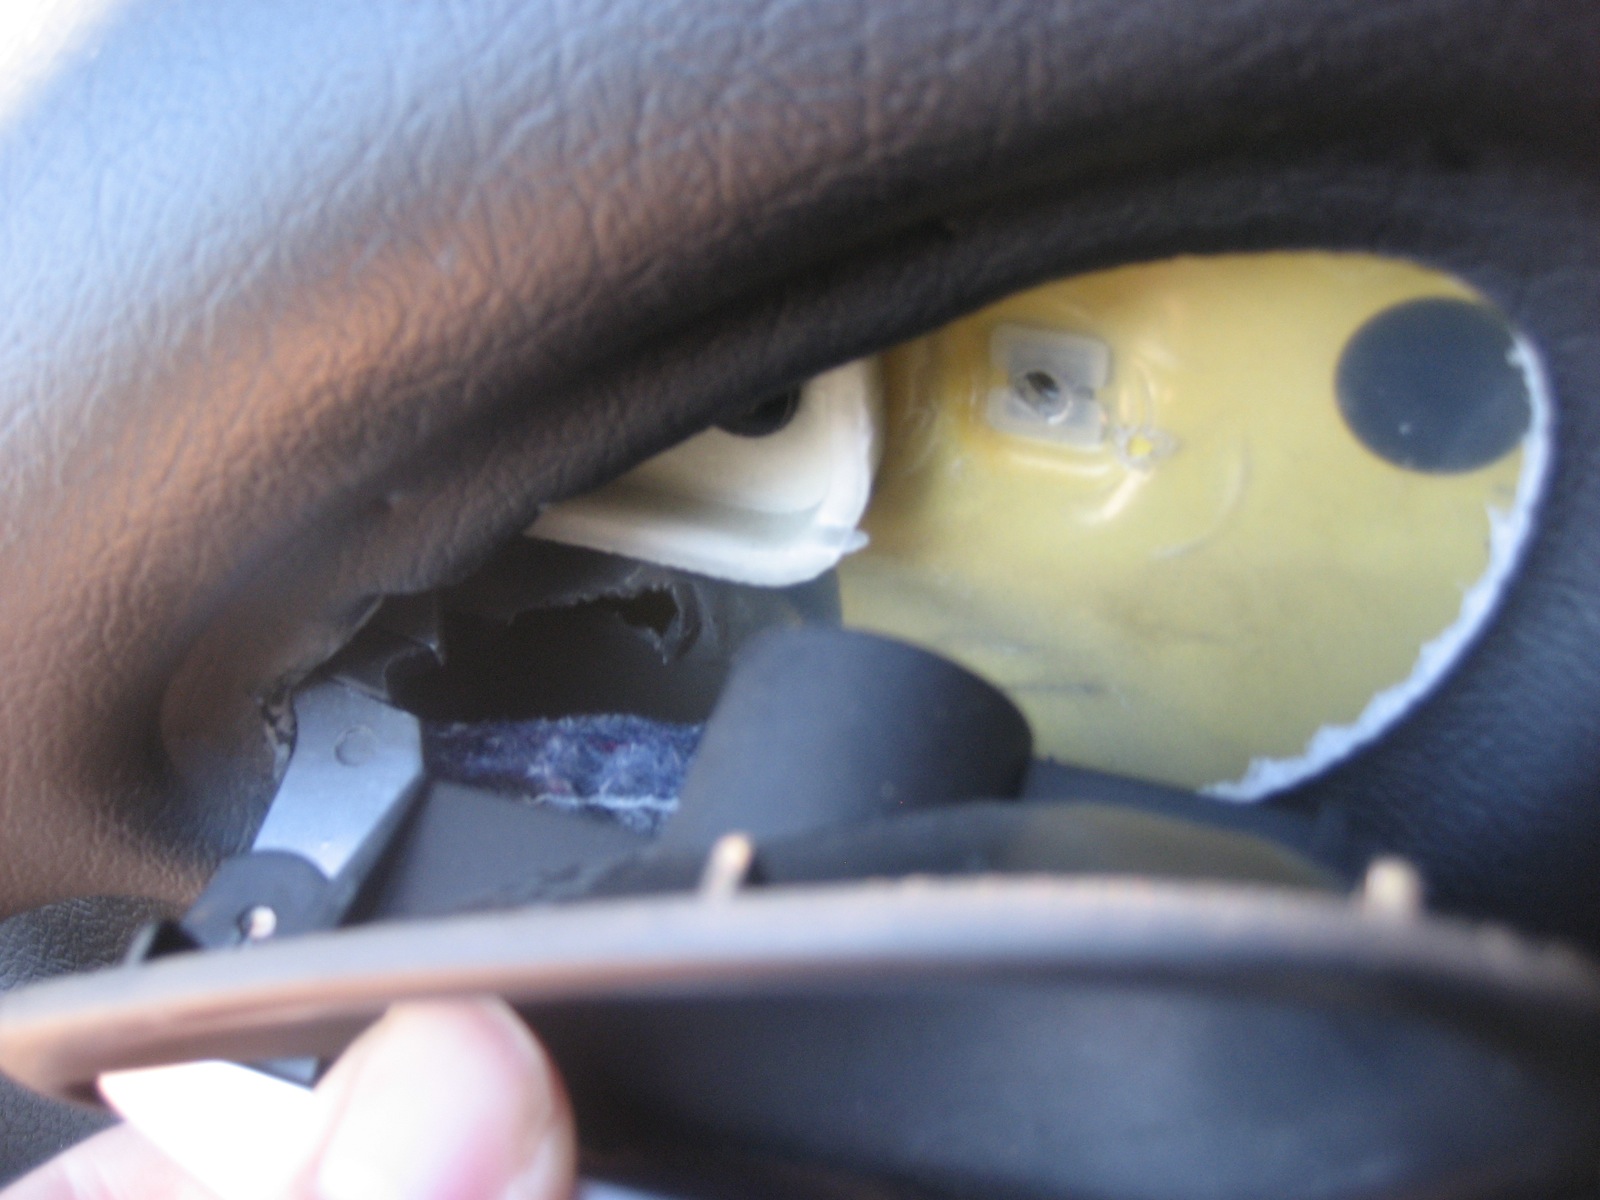
The actuator is attached to the door latch assembly which is connected by rods to the door lock and also the exterior and interior door handles. Take a good look inside the door to get a feel for how things are connected. You may be able to swap out the actuator without anything coming loose, but if it does you’ll want to know how it goes. When I did mine, the exterior door handle rod came off the latch so the door would not open from the outside. A good reason to test everything for proper movement prior to replacing the door panel and closing the door.
Here is the actuator.
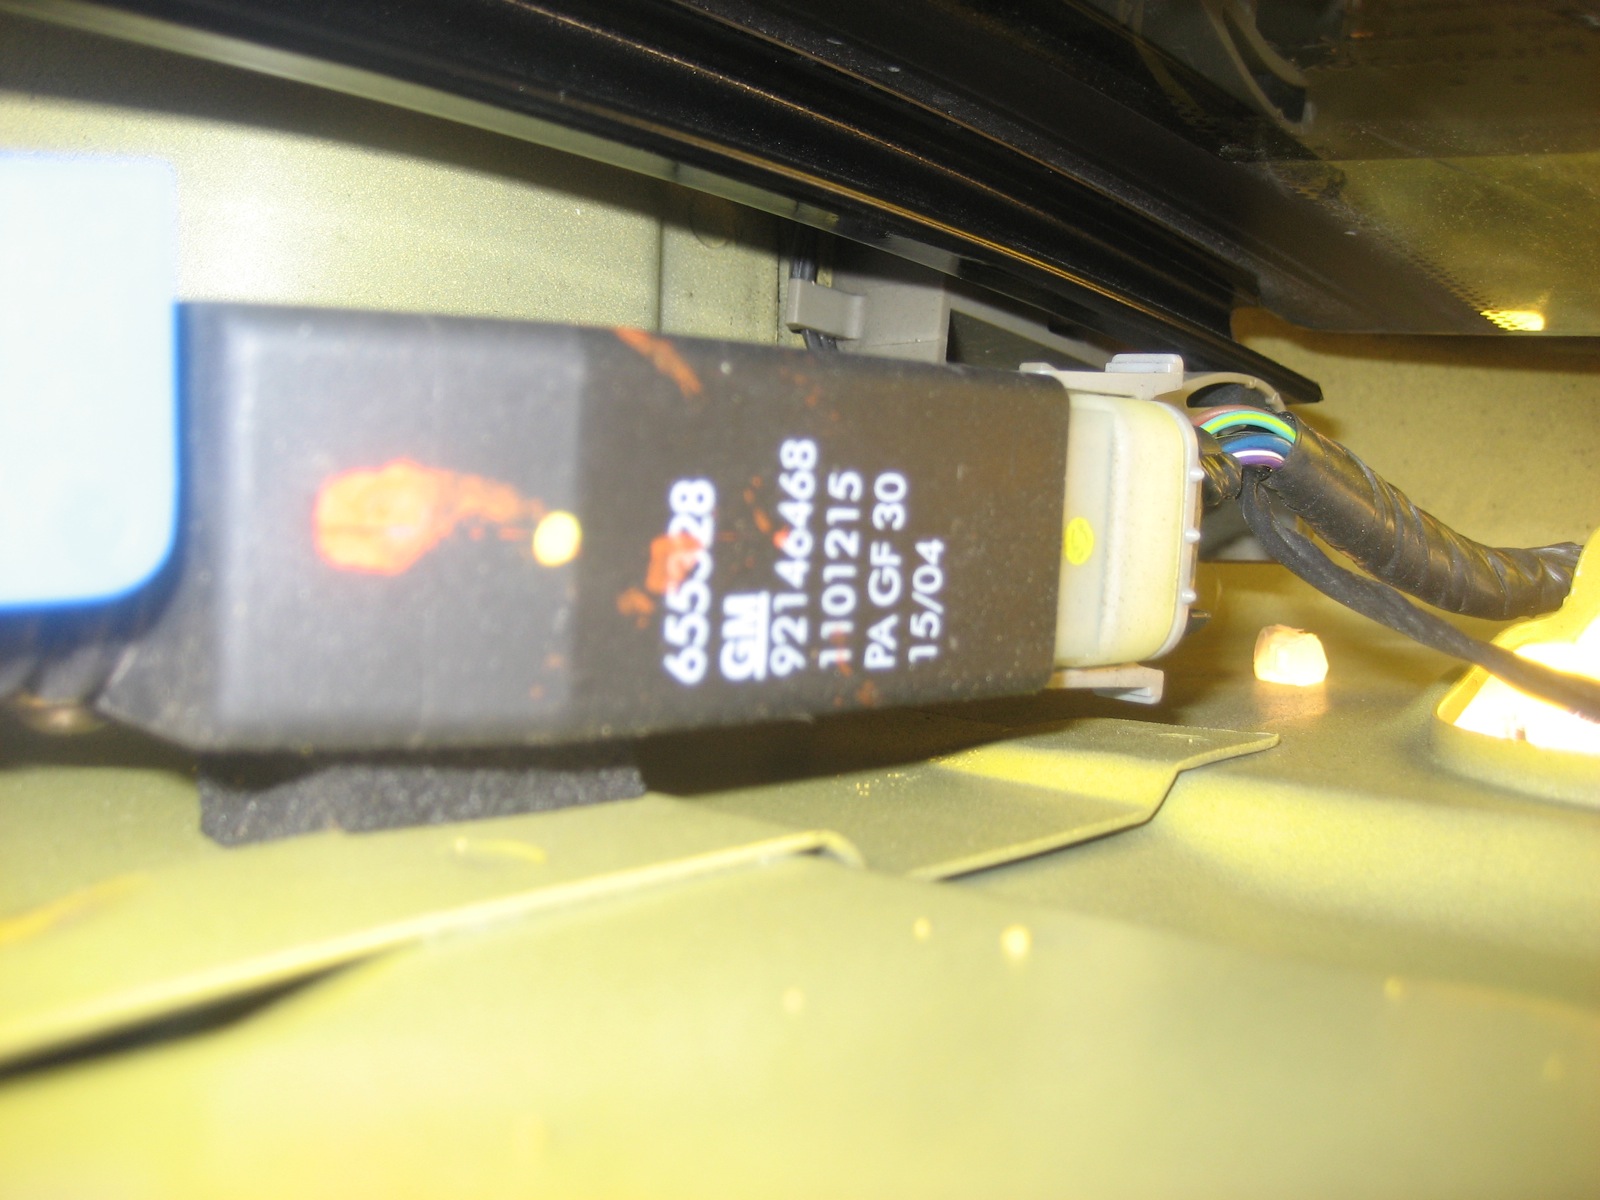
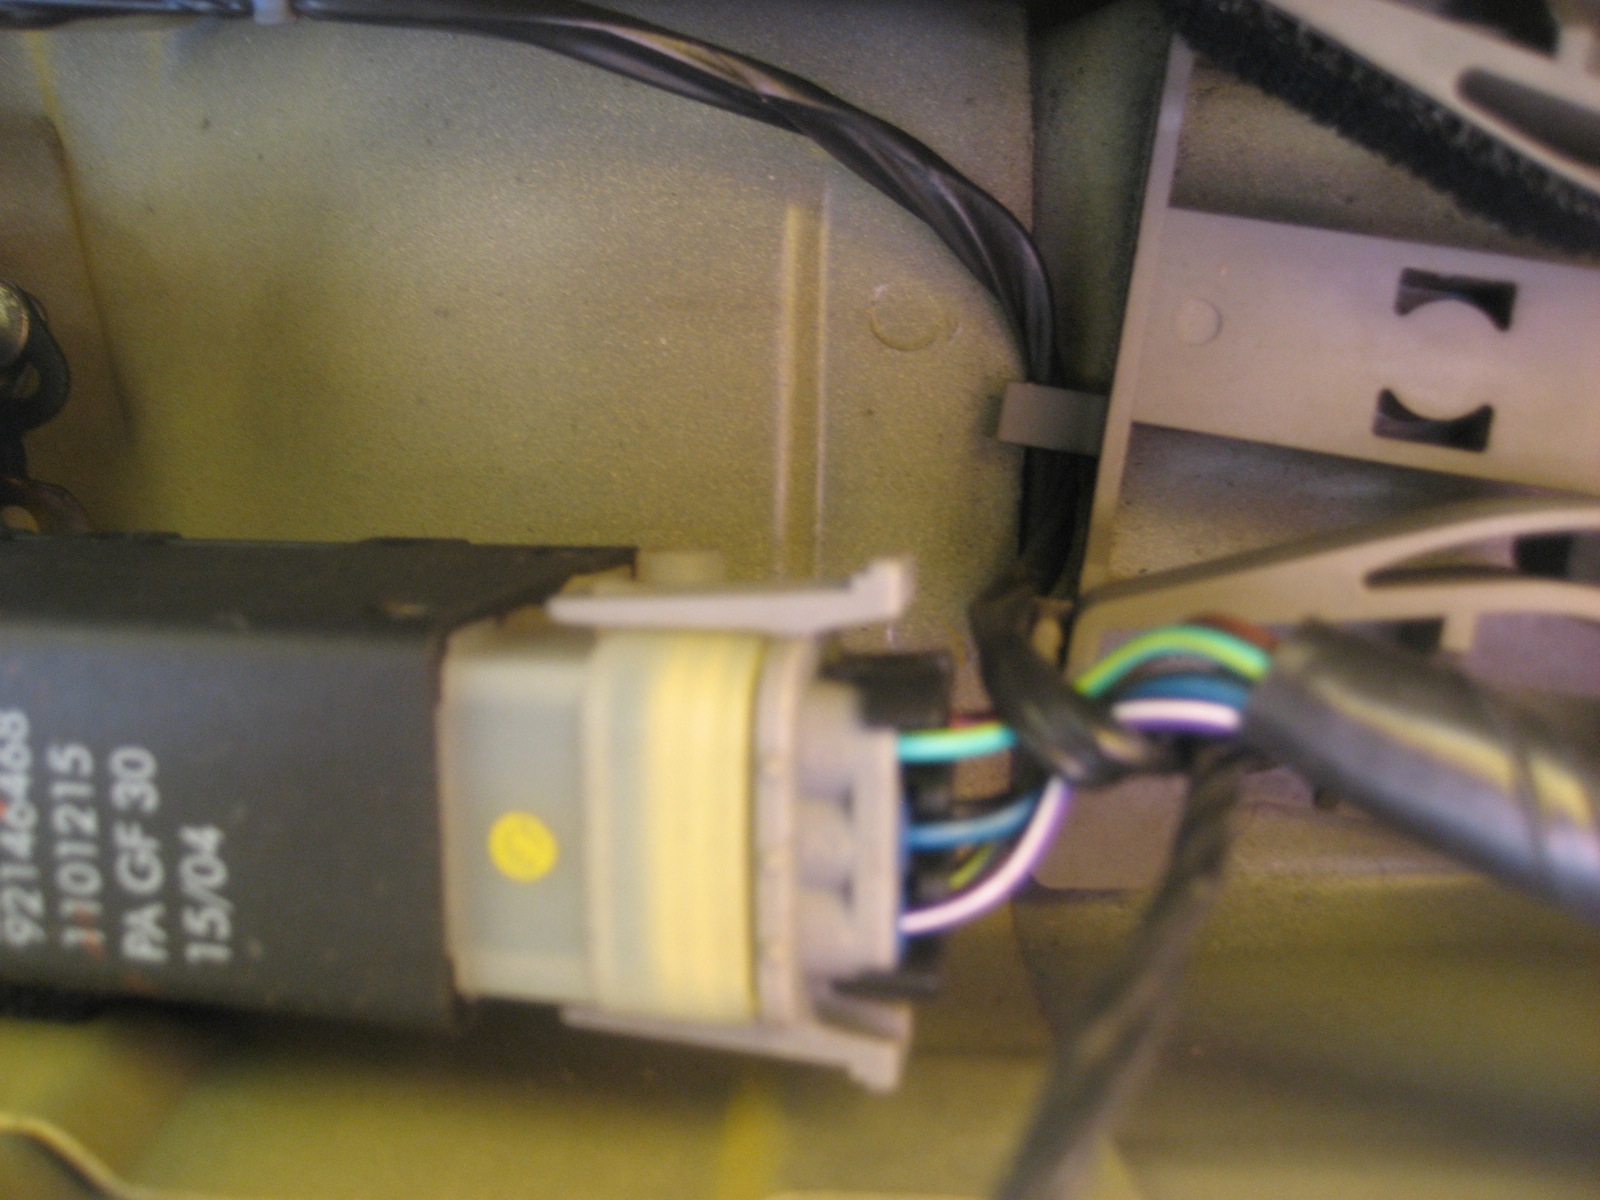
The wiring harness is at the bottom and is removed by squeezing the two clips and pulling. It’s on there pretty good.
Remove the three torx screws that hold the door latch mechanism on. They are shown in the picture for the rear two screws, but it is the three that are nearest the latch.
Once it is loose, you can swing the actuator upward so it is visible from the side in one of the door openings. There are two screws that hold it to the assembly and a piece of foam that probably help keep rattles down. I did not know about the foam so I didn‘t have a way to reattach it, but it is just glued on. The glue will need time to dry because mine fell off during reassembly. I didn’t worry about it and haven’t noticed any rattles yet.
Before undoing the screws, make note of how the actuator plunger engages the lock rod. The new actuator will need to be either extended or pressed in to match or the lock will not function. I think it should be extended because the door is unlocked. Replace the actuator, trying to keep anything from moving too much. There is a hole in the plunger of the actuator – this needs to go over a tab on the latch so it can both push and pull the lock.

Swing the actuator back down and reattach the latch assembly to the door frame. Now you can test the mechanical connections before you button everything up. With the door open, make sure the exterior handle will operate the latch. Also manually pull on the rod that connects to the interior handle to ensure that will operate the latch. If both of those work, attach the wiring to the actuator and close the door, with the window down just in case.
If one of the handles does not operate the latch, the metal rod has come out of the assembly. The exterior handle works by fitting into a recess, like a ball in a socket. You can remove the door handle from the inside by removing a nut or two and working the handle loose. With it removed, you can look down into the door from the outside at the latch assembly and see the socket where the rod will go. Line it up first, then put the handle back on. The handle will need to be held in the right spot on the outside as the nuts are tighted so the seams match good.
I think that the interior handle is attached by a hook, or S-bend so it shouldn’t come undone. If it does you can see inside the door to figure out how to reattach it.
Always make sure that the doors are closed before operating the locks. There is a physical block that prevents the door from locking when open that is likely the reason the actuator dies. Close the door and try working the lock. I moved mine manually by pulling and pushing the rod to make sure it moves freely. Test it with the key fob. If it works, put it all back together.
- Some things to remember during reassembly:
- Pull the light wires back through the plastic film
- Feed the mirror adjustment wires back through the door panel before it is replaced
- Be sure to reattach the interior handle to the latch rod and test before screwing it down
- Make sure the metal lock rod is showing in the lock opening when you reattach the door panel